Server installation Professional
There are various options to install the PostgreSQL Database Server:
In order to start a new installation process, double-click on the Windows Installer Package icon. You will be presented with the following welcome screen which allows to select the language used during installation.
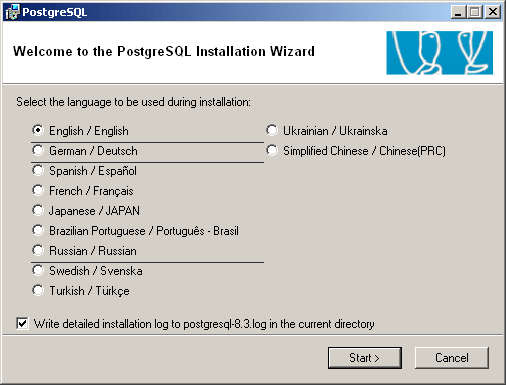
Since the primary language used with this preview is English, we highly recommend to select English in this dialog. Also make sure to check the option for having a detailed installation log written to your installation directory. This makes debugging of the installation process faster and much more efficient should the need arise.
To proceed, click the push button Start.
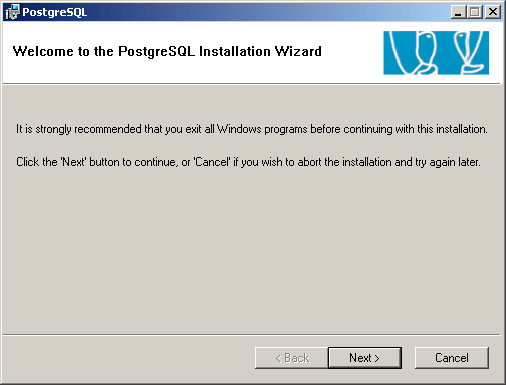
This dialog asks you to terminate all other applications you might have running. Make sure you close all of them and proceed by clicking the Next button which brings up the PostgreSQL installation notes.
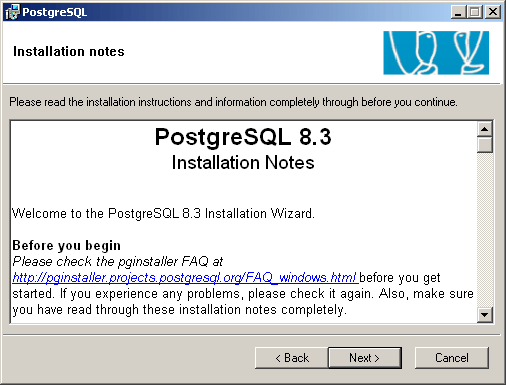
Please take the time to read through all of the information before going ahead. When done, click Next to proceed with the installation.
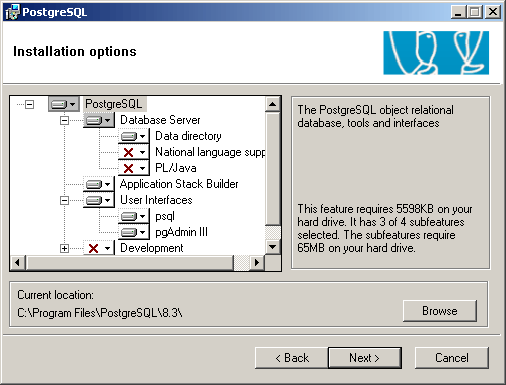
The next dialog contains several installation options. Please enable National Language Support by clicking on the red X next to the option, and selecting Will be installed on local hard drivein the popup menu that opens. Proceed by clicking the Next button.
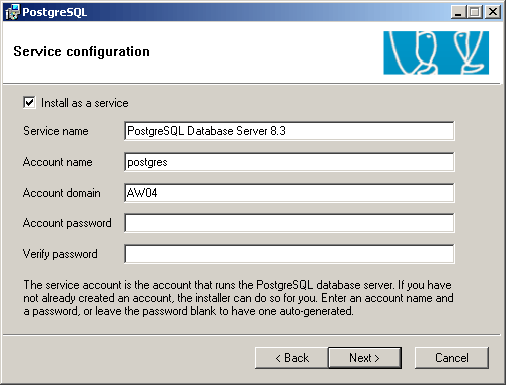
The ServiceConfig dialog allows to modify settings related to integration of the server with your system. Make sure the option Install as a service is checked, as this will start the PostgreSQL server automatically each time you boot your workstation. The default values for the
service name: 'PostgreSQL Database Server 8.3',
the account name:'postgres' and
the account domain: '$NAME_OF_YOUR_WORKSTATION/SERVER$'
should be left as is.
Select a password for your PostgreSQL server, and make sure you keep the password in a handy place so you can easily retrieve it when needed.
After having entered the password twice, hit the Next push button. You will then be asked whether you want to have an account set up for you; please confirm that by clicking Yes. Should you be offered to have a random password created by the installer, reject that by clicking NO. The following dialog window will pop up:
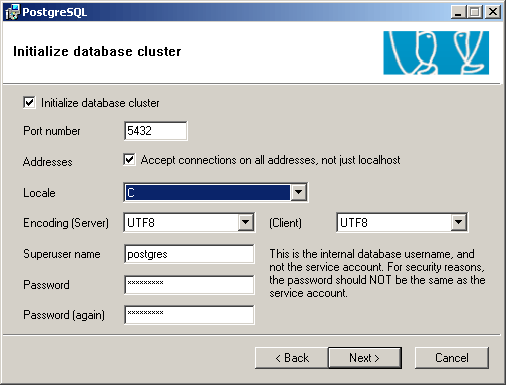
The Initialize database cluster dialog will help us create a new database very easily. This requires to define a couple of parameters. The first two are related to the network connectivity of the new database. The Port Number assigns a specific TCP port to the PostgreSQL server so that applications can connect to it and send queries.
The default value for the PostgreSQL port is 5432. Although the port number could be changed, it is highly recommended to leave it as is. Otherwise, the port would have to be remembered and re-entered for all communications with the PostgreSQL system. Hence changing the default port should be done only if the respective port is already in use.
The Addresses option specifies whether the PostgreSQL system should accept connections from applications other than those run on your local computer. Make sure to check the Addresses option to accept network connections to your database.
The Locale option configures the language which is going to be used on the PostgreSQL system. Set the locale to C, which stands for ISO C standard, and allows PostgreSQL to receive locale information from the host system. Note that non-English locales require the national language-support to be enabled as suggested for the Installation options dialog.
The Encoding determines how data will be stored in the PostgreSQL database. Generally, the default value is SQL_ASCII for Windows systems which will store data in the standard ASCII format into the database. However, the ASCII encoding is only sufficient for English characters and has severe limitations on hosts using other language character sets. Therefore, the encoding should be changed to UTF-8 both for the server and for the client.
The next option is the Superuser name which in effect is the superuser account for the PostgreSQL system. This superuser account has absolute and unrestricted access to all of the system tables and features in PostgreSQL.
Clicking Next will display a reminder for modifying the data access in the pg_hba.conf file. Please make a note of that, and click OK.
PostgreSQL supports writing stored procedures, triggers, and other functions which are executed on the server. To make sure procedural languages are enabled for using this feature, check the PL/Pgsql option in the Enable procedural languages dialog shown below:
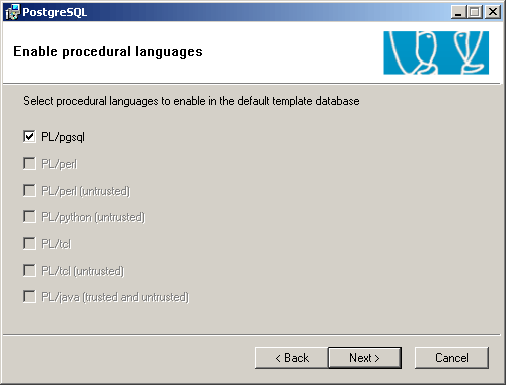
When done, click Next to proceed to the next dialog.
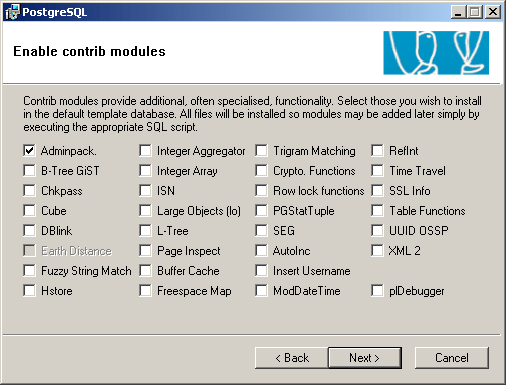
The options in this dialog represent specialized functions created by running the contrib module SQL scripts in the database. Please make sure that the Adminpack is already checked, because this contrib module is needed for using the pgAdmin adequately. It is not necessary to ultimately decide which contrib module will be used at this point. Because all the required files will be installed in any case, additional contrib modules can be installed manually simply by executing the corresponding SQL code at a later time.
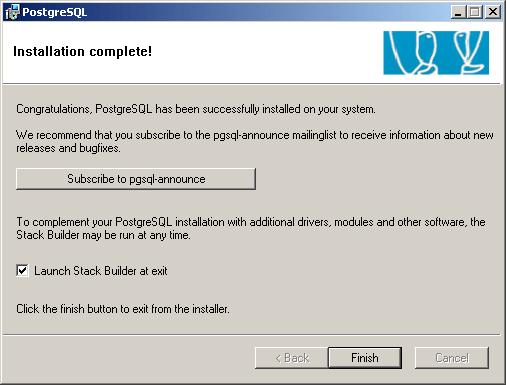
Continue with the installation by clicking Next, which will begin the actual installation process. Once the installation of the PostgreSQL server has concluded successfully, the following dialog will be shown.
Summary
This chapter outlined the basic steps for installing the PostgreSQL server on a development machine. Establishing a connection to the database server is explained in the chapter Setting up pgAdmin.
If you see anything in the documentation that is not correct, does not match your experience with the particular feature or requires further clarification, please use this form to report a documentation issue.